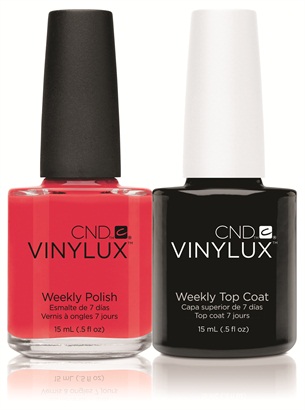
CND have yet again raised the bar of the nail industry and have introduced the Vinylux Polish. The nail polish that ensures a week-long colour without chipping or fading due to the ProLight Technology strengthening its resistance when exposed to natural light! Amazing!! Available in around 60 colours at the moment, half of those matching Shellac colours so you can touch up your Shellac by yourself before you come and see me for your next Shellac appointment! :-)
Vinylux is being released in the UK on the 1st May and I cannot wait to try this and tell you what I think. Not that it will last me a week doing everyone elses nails, maybe I'll give it to my mum to try aswell - So watch this space! Info will be available soon on prices of an individual polish as well as Vinylux Manicures.
Showing posts with label colours. Show all posts
Tuesday, 30 April 2013
Tuesday, 23 April 2013
More fun with Additives!
Again, a perfect summer combination! Shellac Pink Bikini with Hot Pink Additive on top. Looks great when the sunlight catches that glitter!
Summer - WE'RE COMING FOR YOU!
Wednesday, 27 March 2013
I am calling these my Disney Princess nails :)
Friday, 8 February 2013
Shellac Layering - Tried and tested!
What's amazing with Shellac is that you can layer two colours and they mix to make a new colours! I have tried a few and they haven't always changed the colour that much, but I recently tried Rock Royalty and Hollywood. It created a gorgeous deep burgundy with a little shimmer to it from the Hollywood colour:
Monday, 31 December 2012
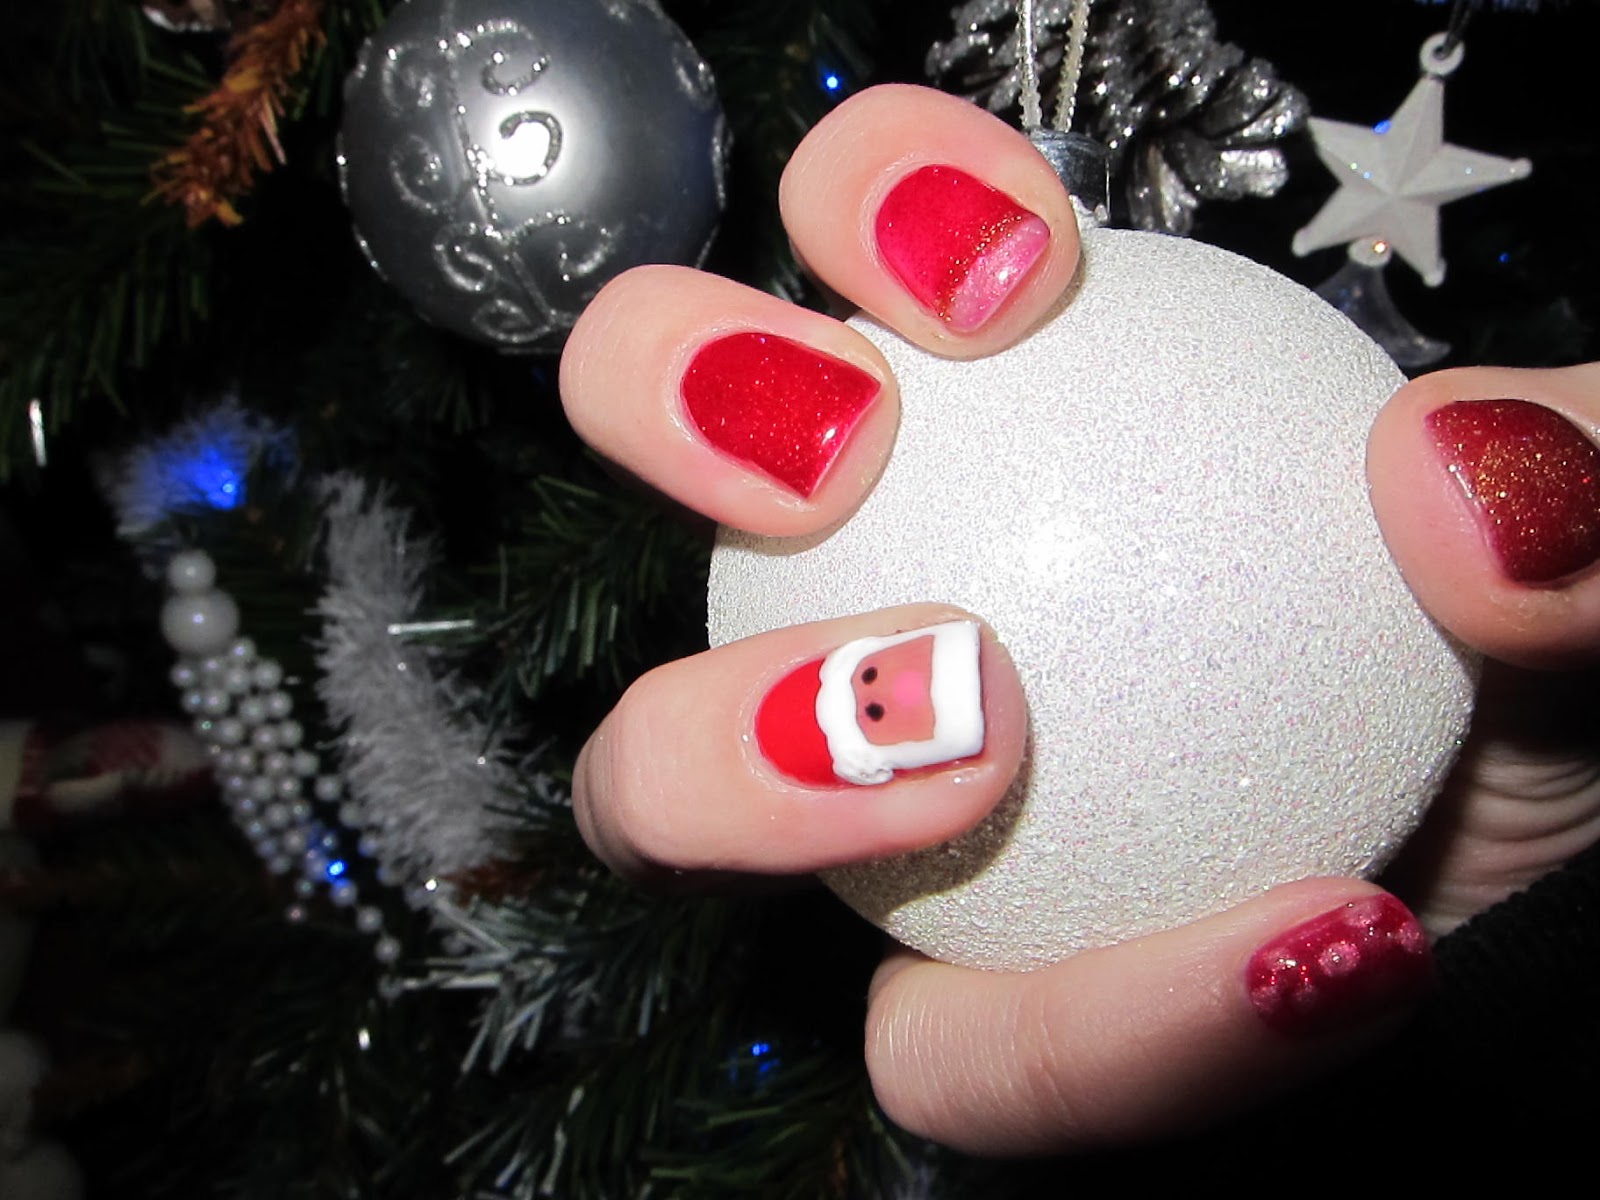
Merry Christmas!!
Hope you all that read this had a lovely Christmas by drinking and eating too much! I certainly did :) Here is a collective of some of the festive nails created over the holidays - there's not that many as the colour Ruby Ritz would have made too many appearances!
Sunday, 21 October 2012
She's been converted!
Sara has had her Acrylic nails for years and years, every couple of weeks having them re-done very rarely letting her nails breathe. So after telling her how amazing Shellac is and how much better it is for her nails (and the skin surrounding her nails!), I convinced her to take the Acrylics off and try Shellac!
Her nails have been short for all these years and obviously quite weak and flaky so I did the first set Friday night hoping after a couple of Shellac manicures, her natural nails will be strong and long! (With a little help from our friend Solar Oil too!)
I will keep you all updated with the progress!
Friday, 12 October 2012
Shellac Crazy!
Shellac Manicures done today:
New Autumn/Winter Colour: Pretty Poison with silver glitter tips
New Autumn/Winter Colour: Faux Fur
New Autumn/Winter Colour: Midnight Swim
Strawberry Smoothie
Labels:
beauty,
beauty therapy,
CND,
colours,
Creative,
effect,
glitter,
irresistible glitters,
manicure,
Nails,
Shellac
Sunday, 30 September 2012
Caviar Manicure
The new trend on the block at the moment is the Caviar Manicure. Nail art is really big at the moment and new designs are coming out all the time. It's now being taken to a whole new level and is no longer two dimensional; the choices are becoming endless and I am loving the exciting creations and ideas.
I first saw the Caviar Manicure on Pink when she posted a picture on Twitter and thought it looked awesome! So obviously researched it and found that Ciate do 3 different designs: Rainbow, Black Pearls and Mother of Pearl -
Coming to Vanity Beautiful very soon!
Monday, 17 September 2012
Shellac - Negligee & Gotcha
Another evening of Shellac fun :-) This time it was a mother and daughter combo:
Because of school, Brodey had to have something very plain and simple, so we went with Negligee. As she has lovely natural white tips, the Shellac has emphasised this creating a natural french look!
Tammy's nails were a bit shorter than Brodeys as she likes a nibble! So hopefully Shellac will help her nails to grow lovely and long so she won't want to bite them! Colour: Gotcha.
Because of school, Brodey had to have something very plain and simple, so we went with Negligee. As she has lovely natural white tips, the Shellac has emphasised this creating a natural french look!
Tammy's nails were a bit shorter than Brodeys as she likes a nibble! So hopefully Shellac will help her nails to grow lovely and long so she won't want to bite them! Colour: Gotcha.
Ok, I think i'm officially obsessed!
I apologise, but here is another photo of one of my Irresistible Glitter creations! I created Rockstar Nails for my friend who was attending a wedding this week and as she was wearing a blue dress, I couldn't resist!
Apart from the time consumption, I found the glitters very easy to use. Along with the correct tools, you can create endless designs which I absolutely love! As long as you have a patient customer of course ;-)
Negligee with Blue Irresistible Glitter
Girly Night In!
Went round my friend's house for a good old girly catch up on Friday night and like normal, I got coaxed into doing everybody's nails!! Not that I mind of course :-)
Two of them were going to London Fashion Week the next day so had to make their nails look fabulous!
Saturday, 15 September 2012
If at first you don't succeed...
...Try something completely different!
My friend Amy from the 'Somewhere over the Rainbow' post came round again last week as her rainbow foils only lasted a couple of days! She explained that they came off as soon as she showered so I was quite disappointed with them. Just goes to show that sometimes you do need to invest in the good stuff to get great results; Minx nails here I come!
I replaced the ring nails that were foils with my new Irresistible Glitters in a fade design:
My friend Amy from the 'Somewhere over the Rainbow' post came round again last week as her rainbow foils only lasted a couple of days! She explained that they came off as soon as she showered so I was quite disappointed with them. Just goes to show that sometimes you do need to invest in the good stuff to get great results; Minx nails here I come!
I replaced the ring nails that were foils with my new Irresistible Glitters in a fade design:
Like?
Labels:
beauty,
beauty therapy,
CND,
colours,
Creative,
effect,
glitter,
irresistible glitters,
Nails,
Shellac
Sunday, 9 September 2012
Shellac + Irresistible Glitters = Rockstar Nails!
Had to try the glitters out asap! I tried shellac Negligee as the base and the blue Irresistible Glitters along the top to create a different french look. I found them very easy to use with nail art brushes and can't wait to try different designs and let creativity flow!
Friday, 7 September 2012
Irresistible Glitters.
Now I have my account with Sweet Squared I've been looking into how I can be even more creative with Shellac. That's when I came across Irresistible Glitters...
Obviously bought a few colours to try! After spending about half an hour deciding which colours to get from the huge selection, I decided on: dark pink, blue, black and silver.
Tuesday, 4 September 2012
Somewhere over the Rainbow...
So, I got my nail foils in the post on Saturday. I thought I'd try some standard ones off eBay first just to see how they are before I get my account with Minx. My friend Amy was coming round for a Shellac manicure anyway so was a perfect guinea pig for them!
She chose Hotski To Tchotchke as her main colour and the Rainbow foil just on her ring fingers. To be honest, the instructions on the back were a bit too vague for me so I had a look online to see if anyone else was giving any tips on these particular foils and a couple of people were so I followed the advice but still had a bit of trouble with the centre of the nail - a crease kept forming so I tried to make the best of it!
You can see in the picture closely the slight crease in the centre, but for my first time I don't think I did too badly! Practice makes perfect so they say!
She chose Hotski To Tchotchke as her main colour and the Rainbow foil just on her ring fingers. To be honest, the instructions on the back were a bit too vague for me so I had a look online to see if anyone else was giving any tips on these particular foils and a couple of people were so I followed the advice but still had a bit of trouble with the centre of the nail - a crease kept forming so I tried to make the best of it!
You can see in the picture closely the slight crease in the centre, but for my first time I don't think I did too badly! Practice makes perfect so they say!
Monday, 27 August 2012
Nail Effects - Nails Inc.
I like to experiment with different effects and patterns you can create on the nail so when I got a Nails Inc. magnetic varnish from my best friend for my birthday I was very eager to try it out!
How it works is that it comes with a magnet on the lid which creates the effect from the iron particles in the polish! Clever right? On my varnish, the instructions were in french so I thought I'd put a little tutorial on here incase yours was the same :-)
To apply, you need to put a thin layer on the nail for the first coat and let that coat dry for a couple of minutes. The second layer is where the magnet comes in - apply a thicker second coat and straight away take the magnet and rest the curved lip on the skin just below the cuticle so the magnet hovers over the nail and keep it there for a couple of seconds making sure it doesn't touch the nail! Repeat on each nail and leave until dry before putting on a top coat to complete the look with a glossy finish!
Here is the end result:
Colour - Trafalgar Square
To apply, you need to put a thin layer on the nail for the first coat and let that coat dry for a couple of minutes. The second layer is where the magnet comes in - apply a thicker second coat and straight away take the magnet and rest the curved lip on the skin just below the cuticle so the magnet hovers over the nail and keep it there for a couple of seconds making sure it doesn't touch the nail! Repeat on each nail and leave until dry before putting on a top coat to complete the look with a glossy finish!
Here is the end result:
Sunday, 26 August 2012
Shellac - Layering!
Thursday, 23 August 2012
Shellac - Who knew?!
I have just been on the CND website and have found all the amazing layering colours you can achieve by using two Shellac colours to create a new individual colour!
So WATCH THIS SPACE!!!
Subscribe to:
Posts (Atom)


.jpg)


.jpg)